Campaigns are a non-intrusive way to welcome and support visitors on your website. The two types of campaigns, one-time and recurring, show up above your minimized chat widget, encouraging visitors to talk to you, or guiding them through your website and products. You can choose a standard text message or play with rich messages, which are more engaging and interactive.
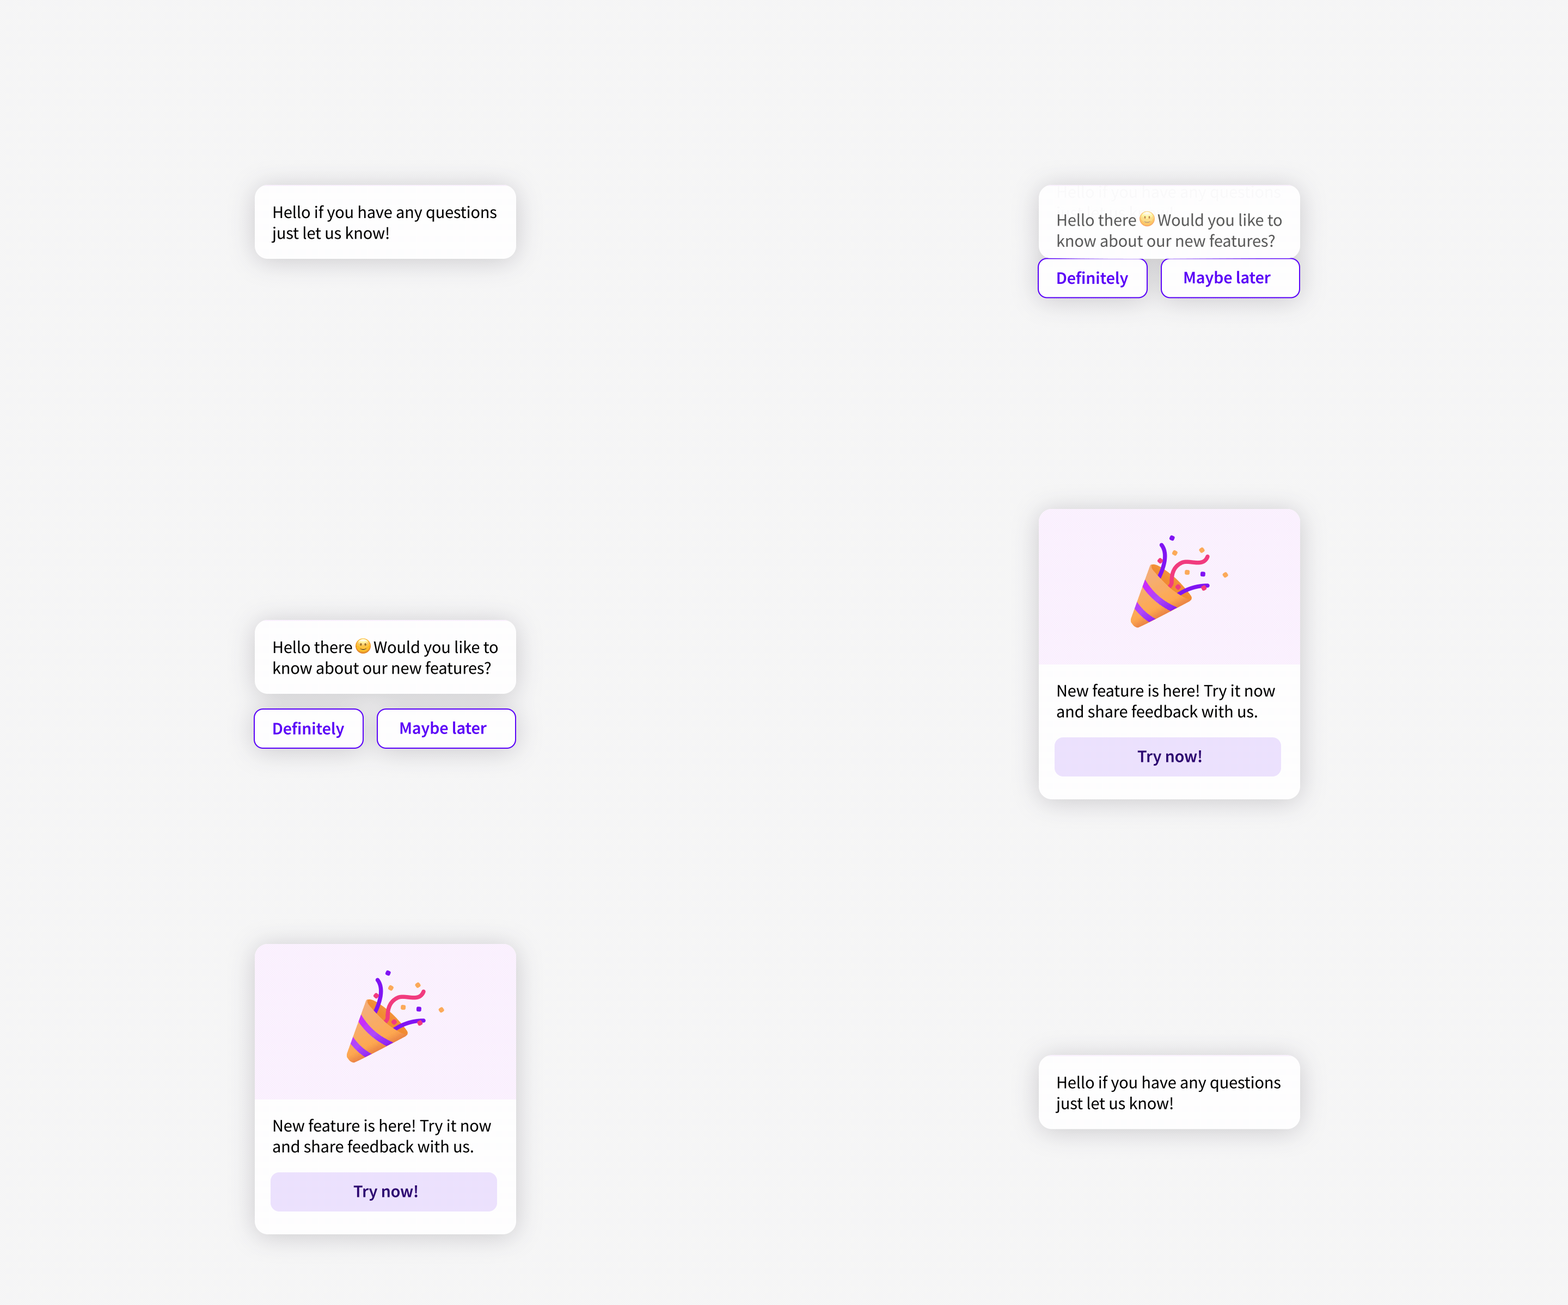
Campaigns allow you to be more proactive. They are an online version of approaching a customer in a physical store. They enable you to share announcements, introduce new products, and support your visitors when they browse through your website.
Create personalized messages, target the right audience, and catch your visitors’ attention to provide exquisite customer service.
Benefits of using campaigns
- Get more chats - engage more visitors with personalized and engaging chat invitations.
- Improve visitors’ experience - use campaigns to guide your visitors through your website or onboard new customers.
- Increase customer satisfaction - build meaningful customer relationships thanks to proactive and engaging customer service.
- Turn visitors into customers - according to our report, visitors invited to chat are 6.3 times more likely to convert into customers than the ones who don’t chat; 61% of those customers convert within the first chat.
- Sell more - engage with more visitors, increasing chances to sell, and improving customer acquisition.
- Improve conversion rates - use buttons in rich messages to increase the number of visitors that complete your desired action: invite people to download a guide, sign up for a newsletter, or schedule a call.
Apart from welcoming the visitors in your store, campaigns can be used to generate leads, automate targeted marketing, guide customers around your website, schedule appointments, and more, announce new product lines or new features on your website.
Campaign templates
Campaigns offer you a headstart with a selected range of templates that suit a variety of businesses. Easy to grasp and implement, you can start engaging visitors with campaigns in a jiffy!
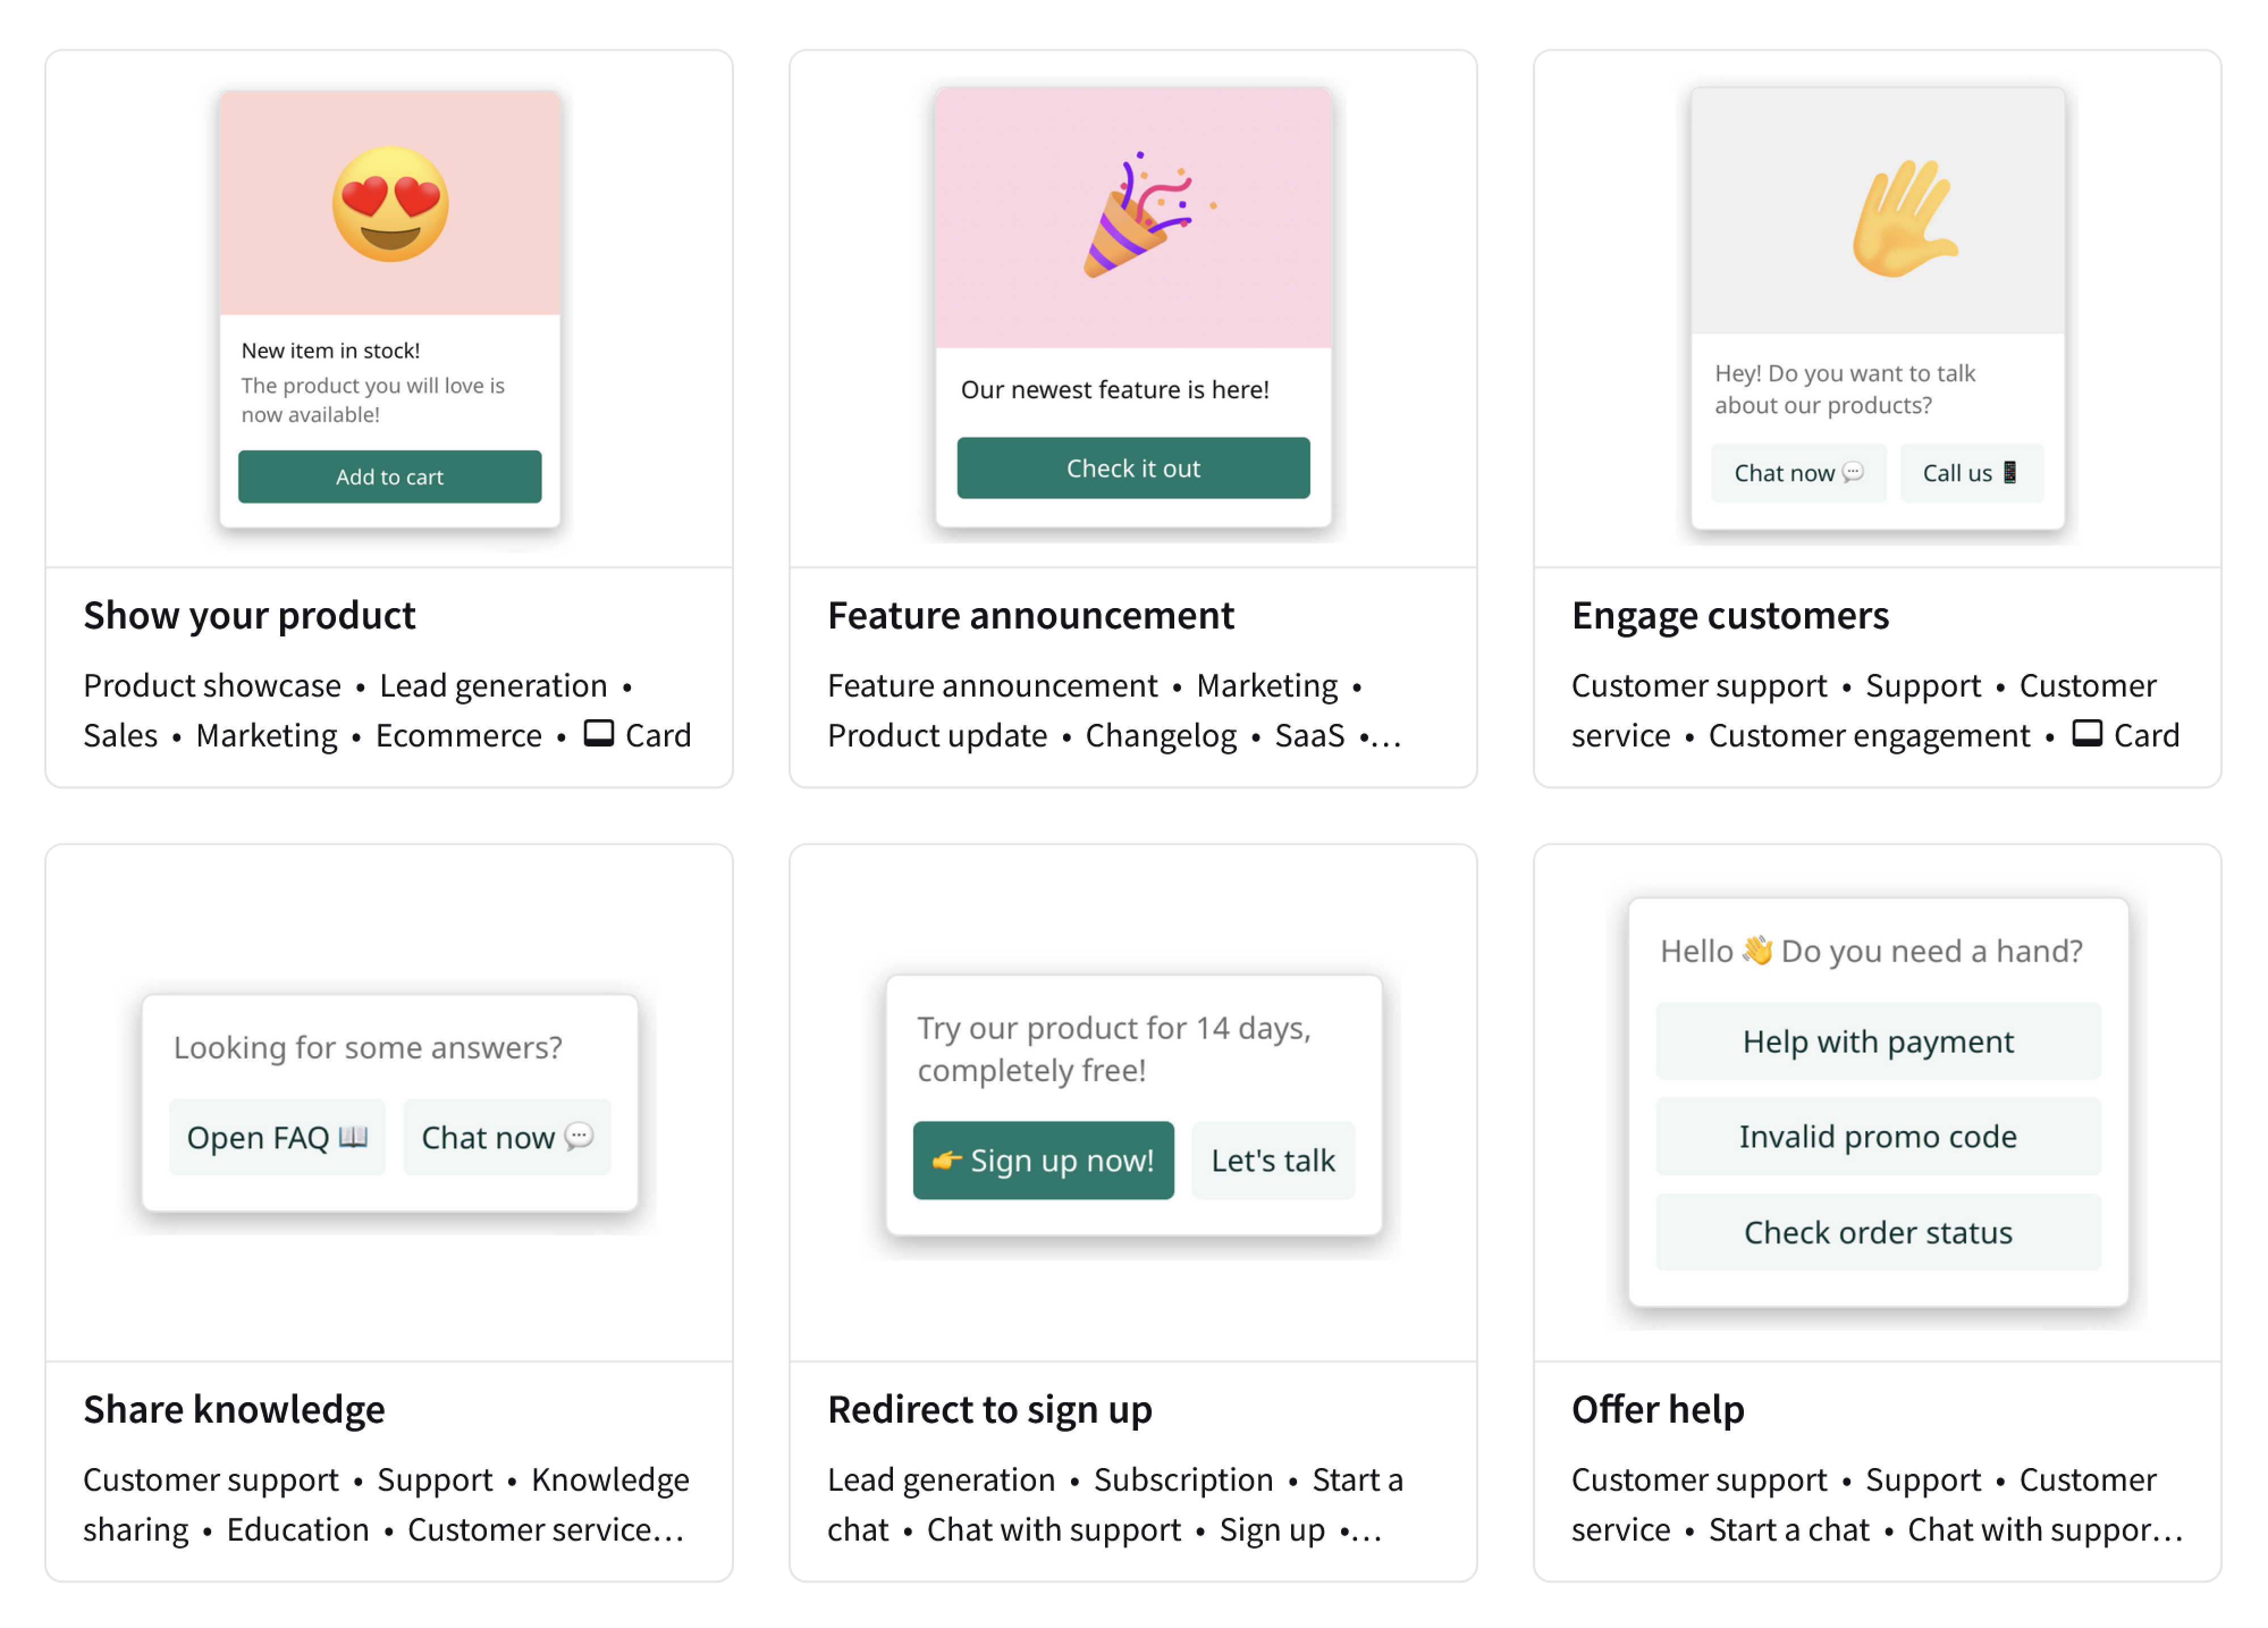
To understand templates, you need to step into your customers’ shoes. Imagine interactions they have with your company, even broader, the whole industry. Campaign templates are a ready to use answer to such scenarios, bringing engagement to your customer journey. Pick the one that fits your customers best, and see the profit!
See how easy it is:
- Select a template while creating or editing your campaign.
- Start with a default version or change texts, button types, graphics, and other elements to fit your needs.
- Experiment and iterate your template in time to achieve the best results!
Message input
Message input is an element you can add to every type of campaign, which allows the customer to start a chat by sending a message.

How campaigns are displayed
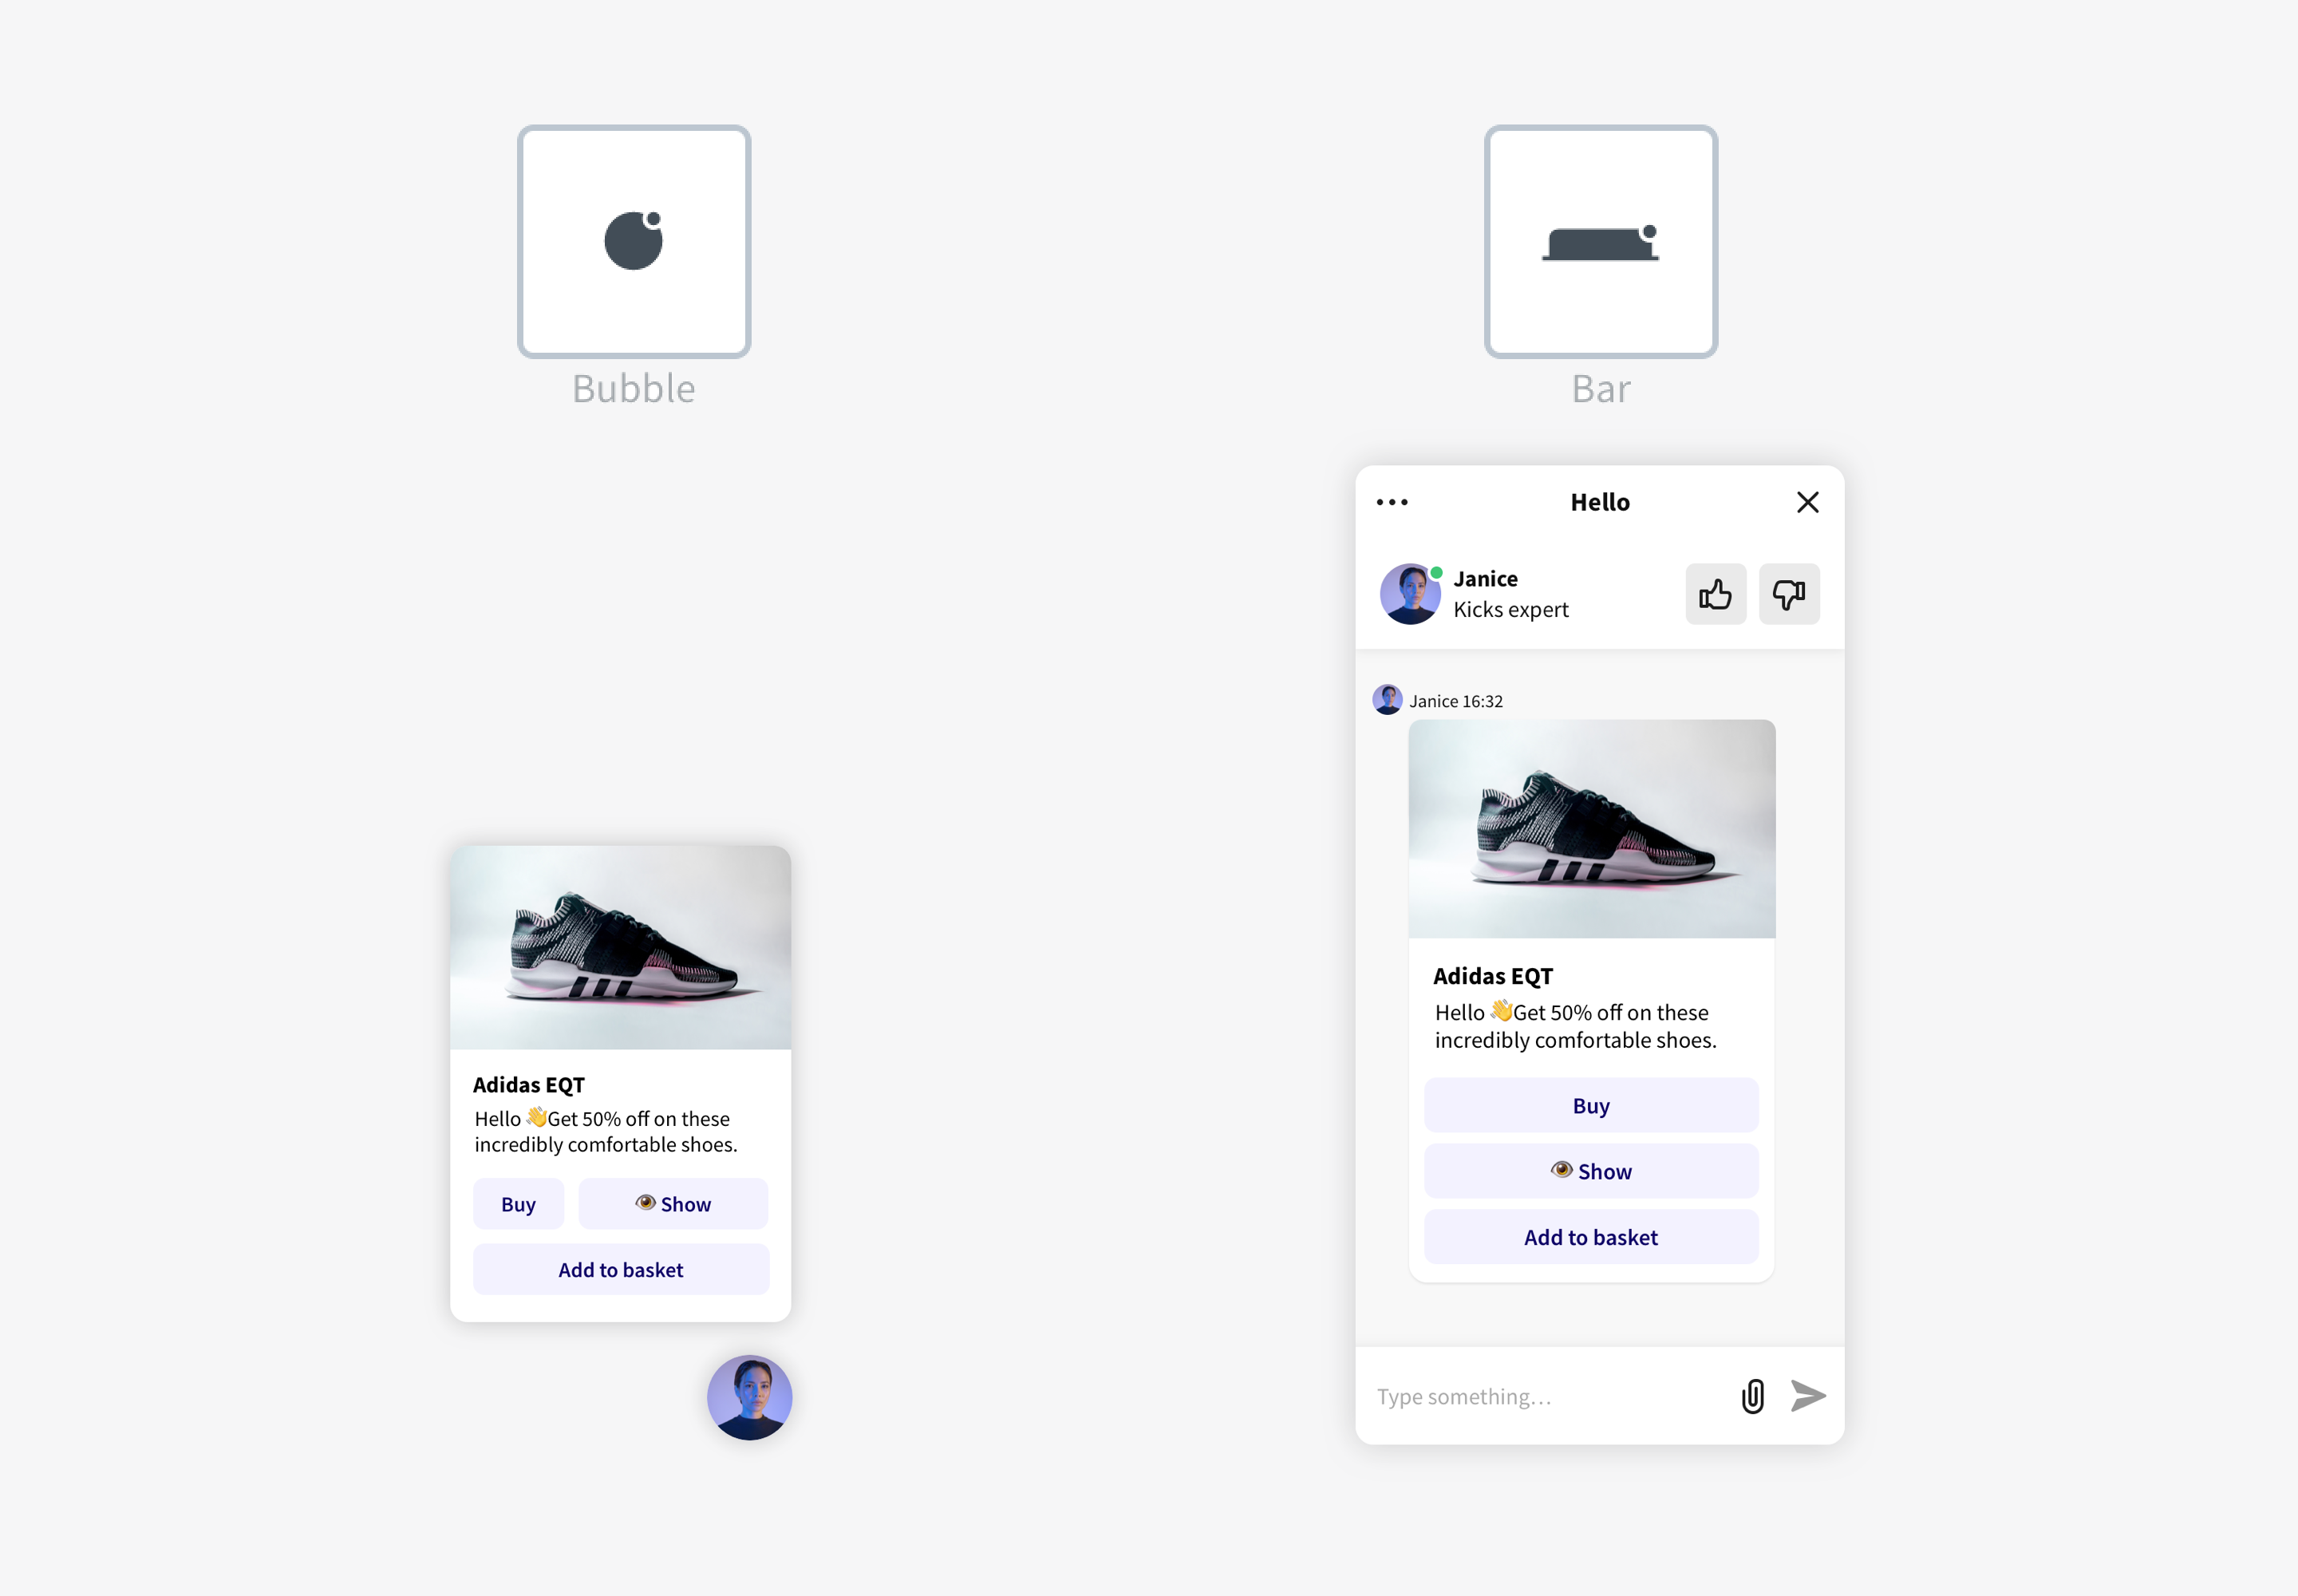
The way your campaigns are displayed depends on which type of the minimized chat widget you use. You can switch between a bar or a bubble (Settings → Chat widget → Customization → Appearance).
- If you use a bubble, campaigns show a picture of an agent with a message above it
- If you use a bar, campaigns are displayed as an open chat widget
Target the right audience with conditions
You can set up different types of campaigns, depending on users’ behavior, traffic source, and traffic patterns. Set conditions for the campaigns to be displayed, and target the right audience with the right message.
Types of conditions:
- Current page URL - targets visitors who land on a page specified in the condition
- Customer’s location - targets visitors from a specified country or city
- Customer’s browsing time - targets the visitors who spent a specific amount of time on a given page
- Number of viewed pages - targets visitors who viewed a specified number of pages
- Referring website address - targets visitors coming from a specified URL
- Pages visited in the exact order - targets visitors who follow a specified path on your website
- Any page from session - targets visitors when any page URL from a visitor’s session contains the specified strings
- Custom variable - targets visitors based on custom parameters
To enable ‘Multiple campaigns messages’ go to Engage → Campaigns and click the ‘Multiple campaigns’ toggle in the top right corner.
Create and edit campaigns
It’s fun and easy! Just follow these simple steps:
To create a new campaign
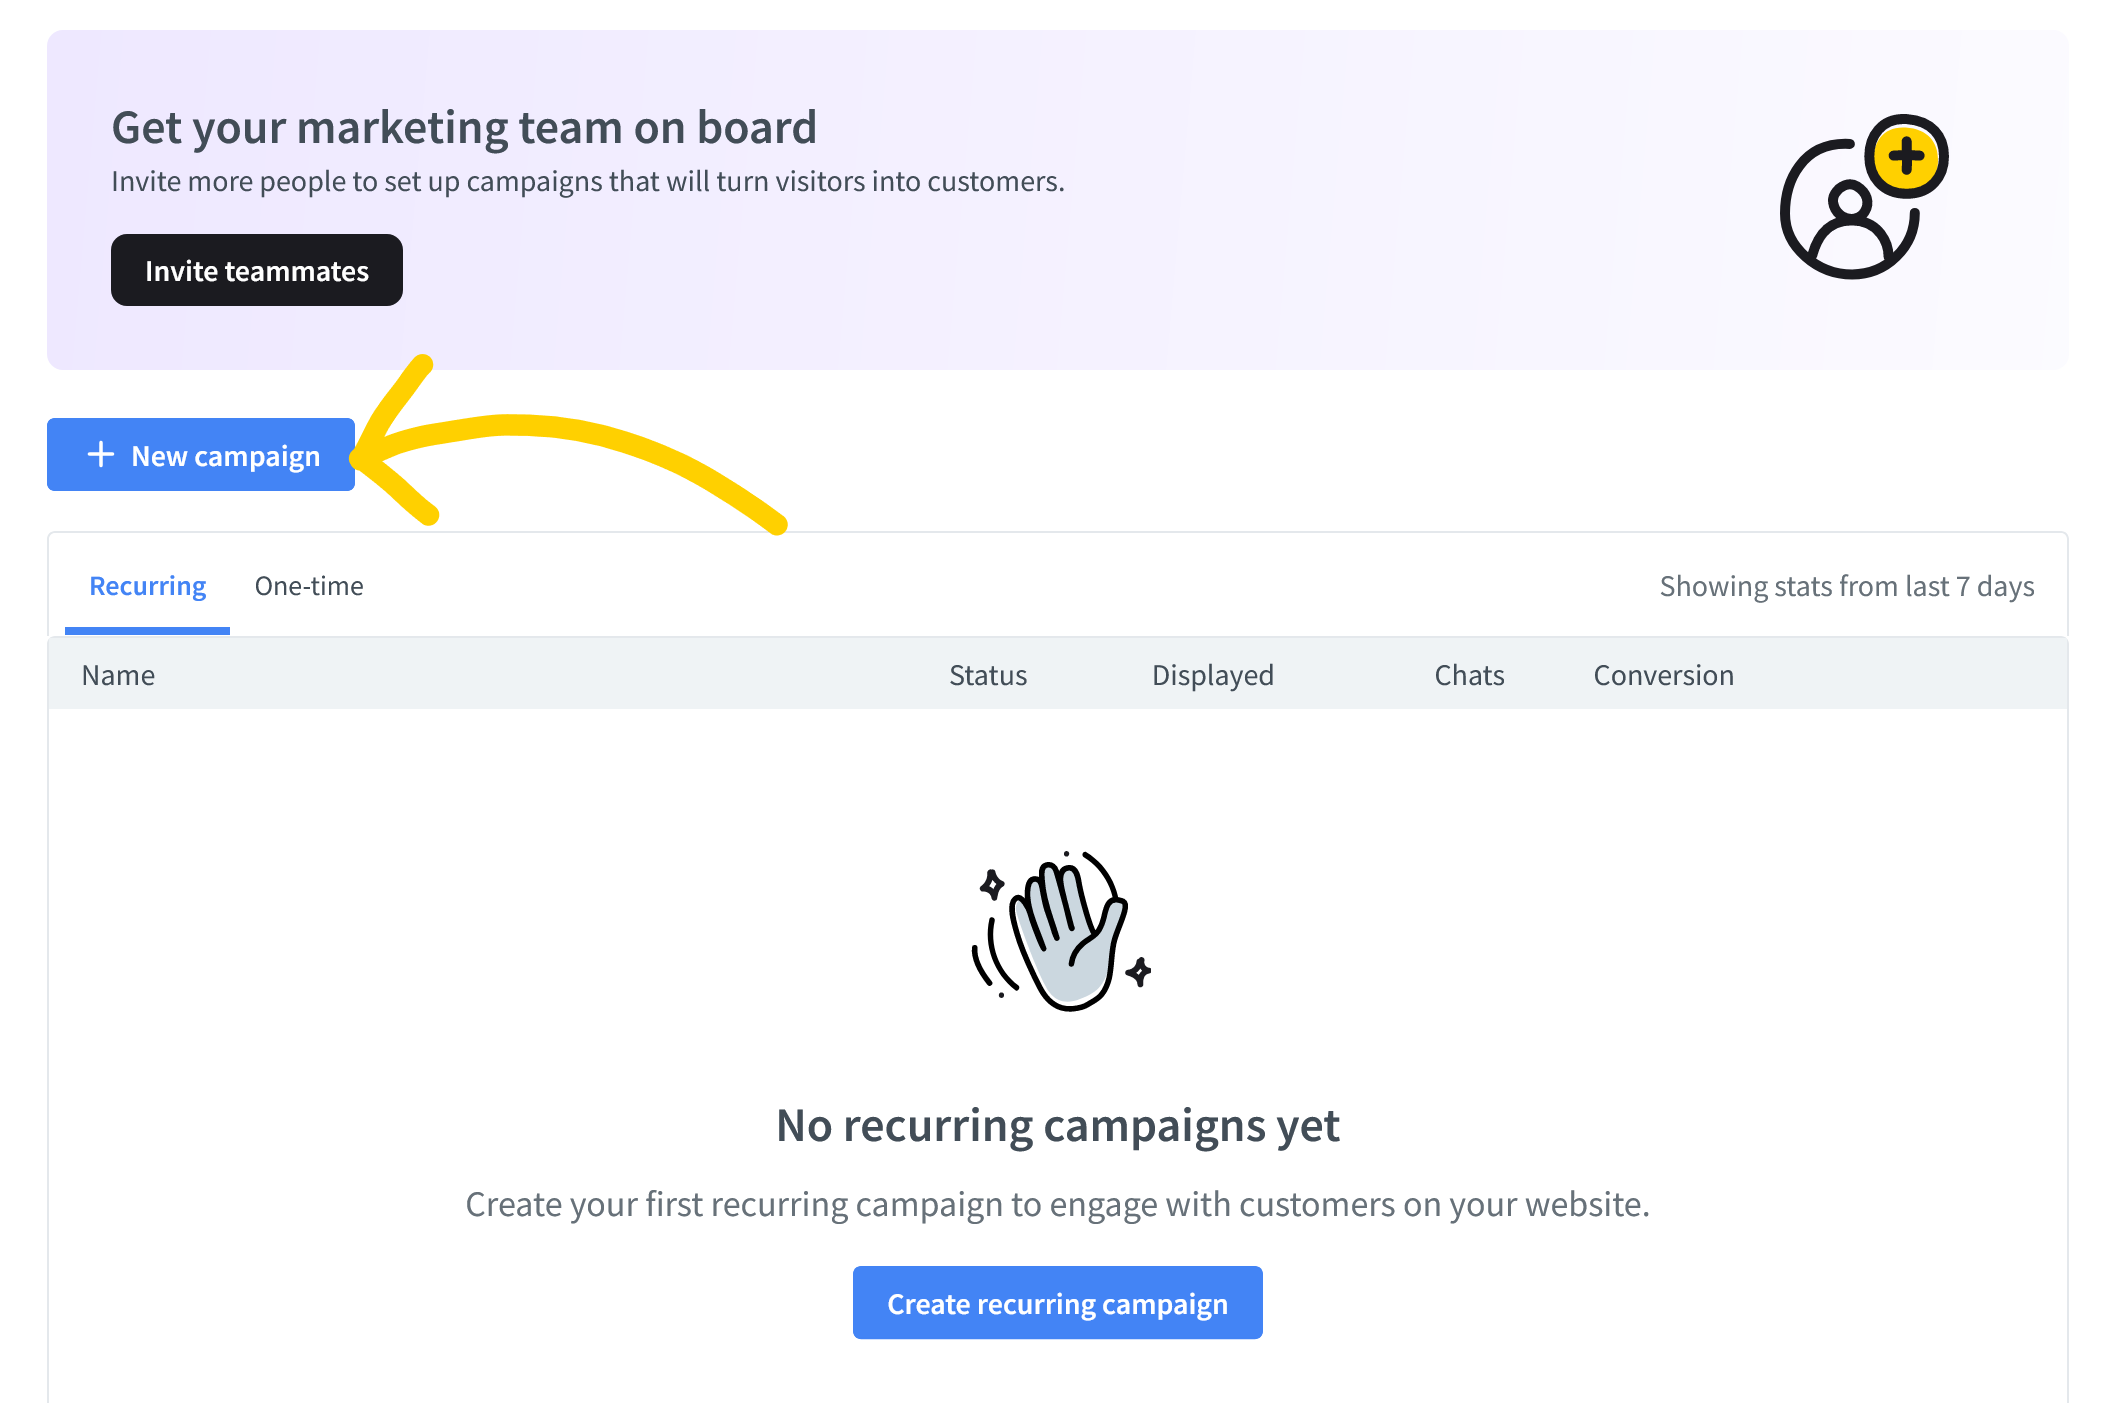
In LiveChat Agent App go to Engage -> Campaigns and click on **New campaign**.
- Select One-time or Recurring at the top of the page.
- Choose the campaign template that fits your scenario the most. Select Use template to proceed.
- To edit, click on elements of the template. Depending on the template you selected, you can change the text, add buttons or images, and the message input field.
- When you’re done, click on Next: set conditions. You will see a preview of your message in the sidebar on the right-hand side.
- If you are creating a One-time message, first set up the timeframe in which it will be displayed to the visitors on your website. You can set it to display for the next 7 days, 30 days, or a custom number of days, starting at the moment of saving the one-time message.
- Choose who will see your campaign: all visitors, first-time visitors, or only returning visitors.
- Set appropriate time delay according to the situation and users’ behavior. Take advantage of the Google Analytics integration to understand when is the best time to display your campaign message.
- Decide if you want the campaign to be triggered when all conditions are met (ALL operator - ‘match all of these conditions’), or at least one of the conditions (OR operator - ‘match one of these conditions’).
- Click on +Add condition, choose the type of condition using the dropdown menu, and set the condition parameters. You can add up to 8 conditions.
- Now, click on Save campaign You will be prompted to name your campaign. If you are setting up a recurring campaign, you will also need to decide if it should be set live immediately.
To change the name of a campaign
- Go to Engage → Campaigns.
- Click on the campaign you want to edit.
- Click on the pencil icon next to the name of the message in the top left corner.
- Enter the new name and click on Change name.
- To finalize the changes click on Next: set conditions, and then Save campaign.
To turn campaigns on/off
One additional action for campaigns is that they can be turned off and on.
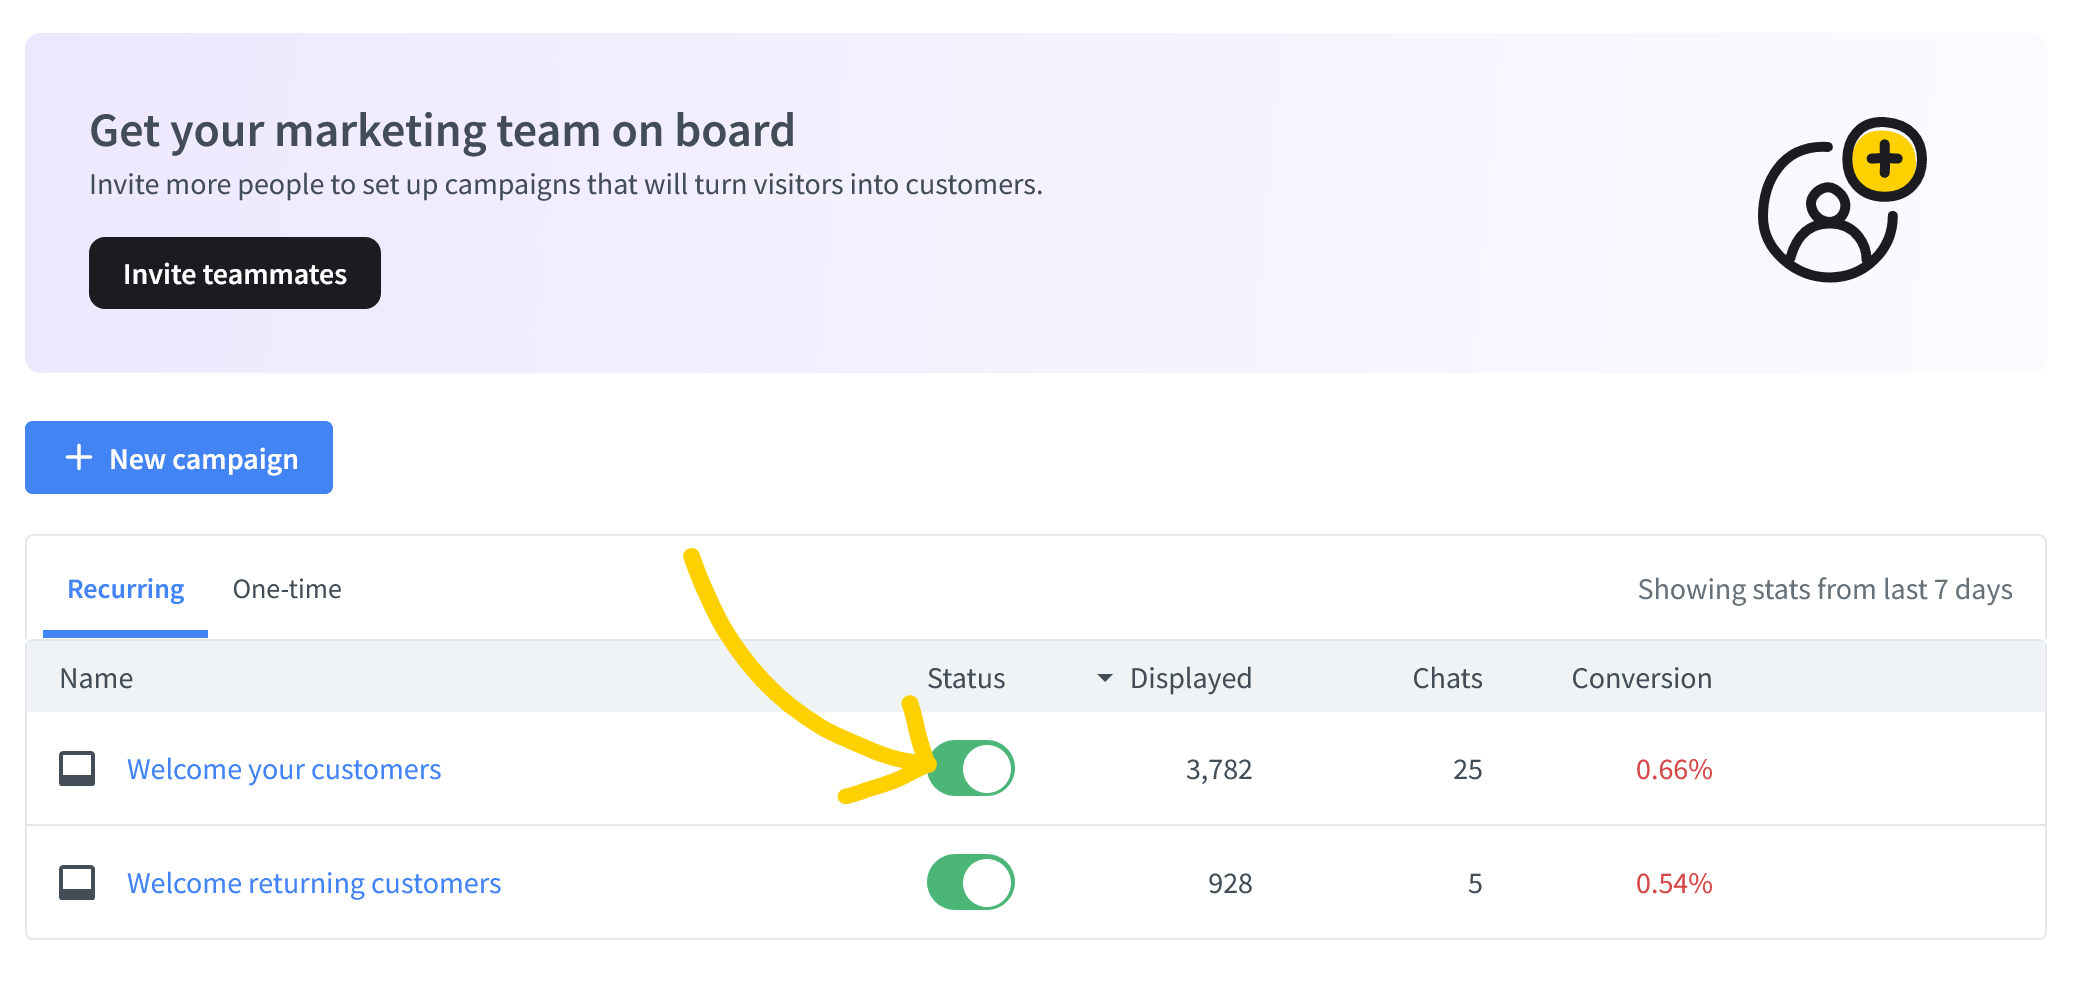
- Go to Engage → and click on Campaigns.
- Flip the switch in the Status column:
- The switch is greyed out - the campaign is off.
- The switch is highlighted in green - the campaign is on.
To delete a campaign
- Go to Engage → Campaigns.
- Click on the One-time or Recurring.
- Hover over the message you wish to delete and click on the three dots.
- Pick Delete from the menu.
- Confirm, by clicking on Delete this campaign.
Analyze your campaigns’ performance
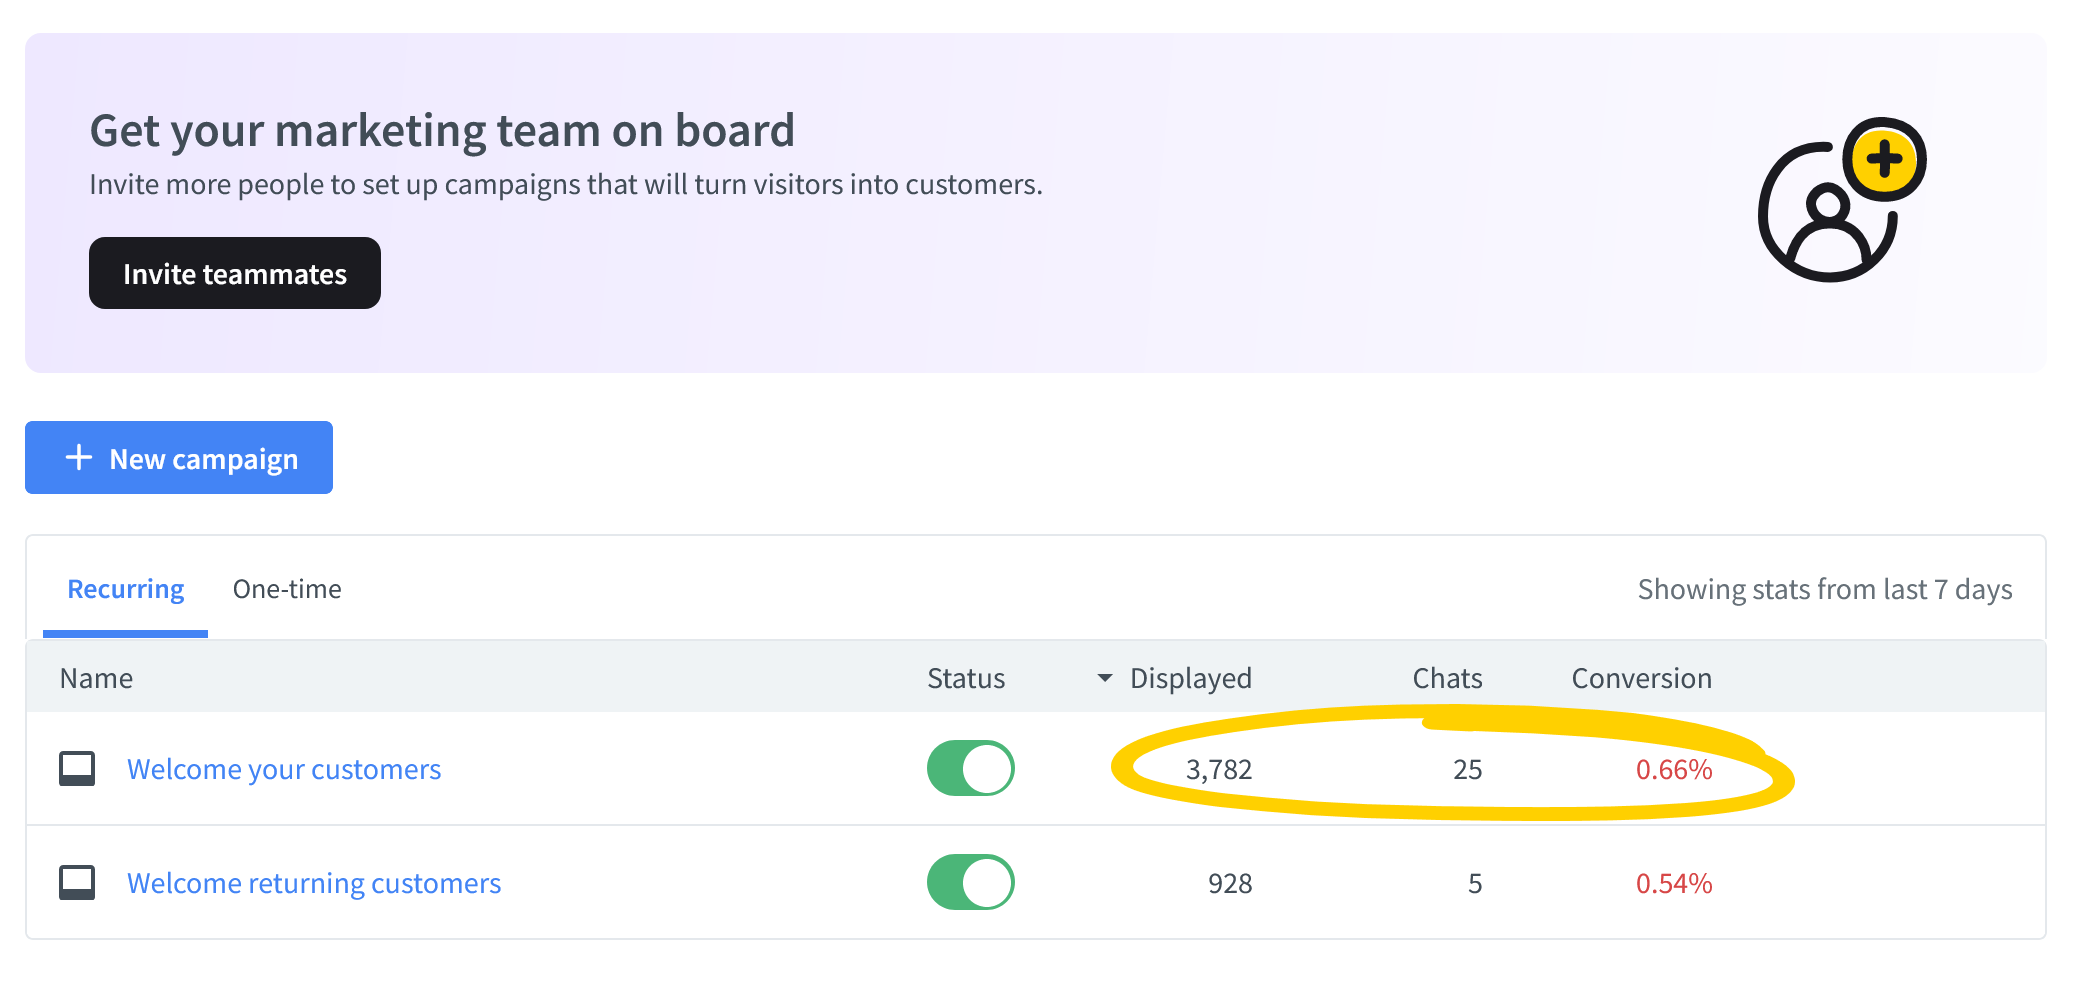
While each visitor will see a one-time campaign only once, recurring campaigns are displayed multiple times. That is why it is worthwhile to experiment with different types of campaigns and check their performance in Engage → Campaigns. You can see how many times a campaign was displayed, how many chats it brought, and check its conversion rate.
Data from the last 7 days is neatly presented in the table and you can compare campaigns’ performance easily. To view detailed data from a specified time period, click on View report.
Set up various campaigns for the same conditions, and test one campaign type each month. After the test period, you will see the most effective ways to engage certain groups of customers.
You can also use the integration with Google Analytics to track the number of campaigns displayed to your visitors, as well as the number of clicks on buttons in rich messages and announcements. Each event contains the button ID and content, so that you can track the performance of particular buttons.
The difference between campaigns and welcome messages
When a visitor comes to your website, they can see the campaign you set up there. If they interact with the campaign and start a chat, the campaign message will show up as the agent’s first message in the chat. However, if the customer starts a chat without a prompt, the first message they will see in the chat will be your welcome message.
Your welcome message can be set up in the Settings → Chat widget → Language. It’s an automatic message sent to customers when they start the chat on their own, by clicking on a chat bar or a button. You can set up only one welcome message, however, it can be personalized for different groups.
Campaigns are more proactive. You don’t have to wait for customers to start a chat. Thanks to campaigns, you can start the conversation yourself. They can be personalized to show up in particular situations when a visitor performs actions predefined in their’ conditions. You can invite visitors to chat, or send campaigns displaying messages and actionable buttons, depending on the situation. Create as many campaigns as you want (and up to 10 one-times!) and engage visitors on your website!